Processing Payments with Poynt
For a full database of help articles/videos, please visit Poynt directly at:
Poynt Support

Starting a Payment
Because your Poynt device is built to be future proof, there are many different ways that you may accept payments on your terminal.
There are two applications where you can press “Charge” to begin the payment process: the Terminal app and the Register app. From there, you and your customer will be prompted on both screens to select payment method and enter required information.
- The Terminal App is for recording sales in a “basic” manner. Like the name denotes, the “terminal” app is designed to simply have you (the merchant) quickly enter a payment amount, and take the sale. That’s it – no bells/whistles.
- The Register App is for more advanced sales/ordering. With the Register app, you can apply taxes, discounts, select items from your Catalog, and more. The Register app is where most merchants will “live” for payments, whereas the Terminal app is for “quick” or “on the fly” payments.

Card Acceptance – EMV (chip) or Swipe
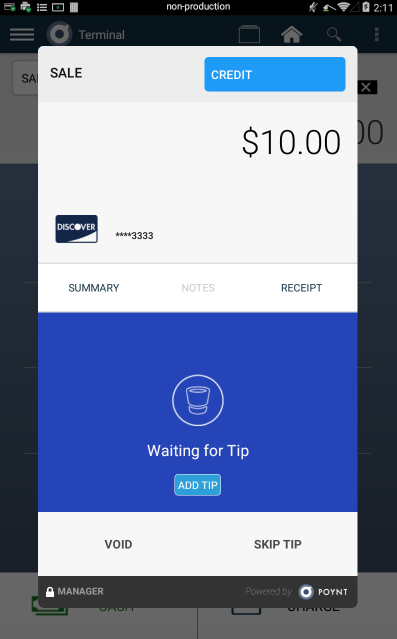
At the top of each sale you run, you’ll see a selection box that you can click to edit what type of payment you’d like to accept.
- Card Acceptance: Your smart terminal has both MSR (Swipe) and and EMV (Chip) capabilities— both in the same card reader. This will work for both Debit and Credit cards. Simply select “credit” or “debit” from the payment screen and your customer will be prompted to enter their card and complete checkout. If your customer has a PIN number associated with their card, they’ll be prompted to enter it on the customer-facing screen.
- Cash Acceptance: You can accept cash payments through the Terminal or Register App. When going through the checkout process, there will be several options to select while making change so that you can move quickly throughout the transaction.
- Manual Entry: For payments where it’s easier to enter the card information, there is manual entry available. Simply select “Manual Entry” from the payment screen and you or your customer will be able to enter their payment information.
- NFC: Near Field Communication is enabled for Android Pay and Apple Pay. To pay using NFC, you’ll start a sale like normal. Then, your customer will tap their phone on the customer-facing QR code and Barcode scanner.
- Multi-tender: Here you can select partial payments so that you can, for example, apply $50 in cash towards a $90 bill, then apply the remainder on credit.