Setting up ACH.com
Adding ACH processing to MX Merchant is easy. Follow the below steps.
Activation
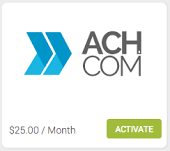
The ACH.com app provides merchants with the ability to accept ACH (Automated Clearing House) payments. To install the ACH.com app, first login to MX Merchant, then click Apps on the left menu, click the green Activate button found on the ACH.com tile.
Initial Setup
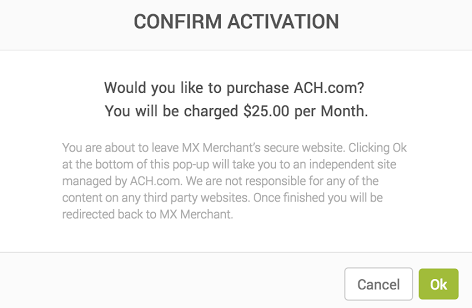
Once you click on the Activate button, the pop-up to the right will appear.
Clicking Cancel will take you back to the app store and will not Activate the ACH.com app.
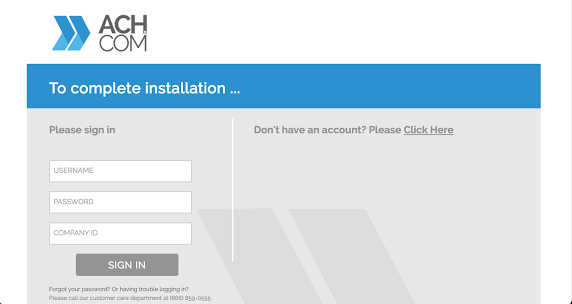
Clicking OK will redirect you to the ACH.com landing page where you will be required to select if you are an existing ACH.com user or a new user.
Create an Account
If you are an existing user can enter your ACH.com username, password, and company ID found on the left side of the page.
If you are a new user you will click “Don’t have an account? Please Click Here” which can be found on the right half of the screen
If you are a new user, the next screen you will see after clicking “Don’t have an account? Please Click Here”. Is Step 1 of the 4 step signup process.
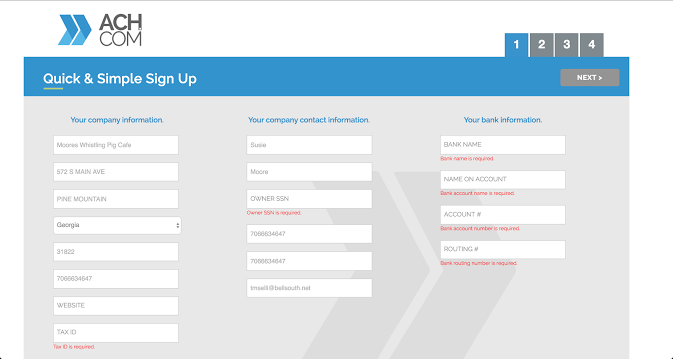
Step 1: Company, Contact, and Bank Information
Please note since you activated this app through MX Merchant, some of these fields will be pre-filled as MX Merchant communicates with ACH.com to help speed up this process for you.
Required information is indicated with red text directly below the entry field. Once all fields have been filled in, simply click the grey Next button in the upper right.
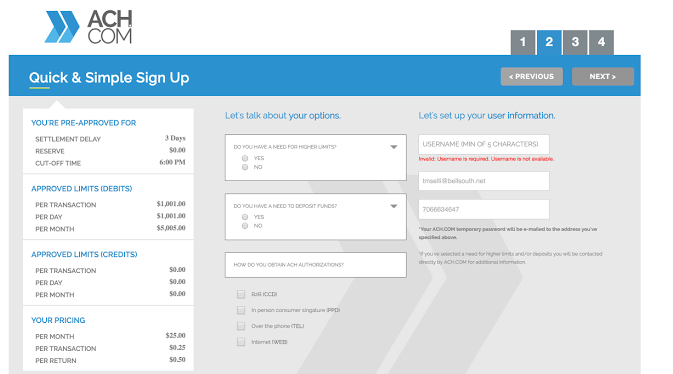
Step 2: Limits and Approvals
Pre-approvals, Limits, and Pricing (left portion). This section shows you what you have been approved for, so no changes can be made to this information.
Determining your ACH needs (middle section):
- Do you have a need for higher limits?
- Do you have a need to deposit funds?
- How do you obtain ACH Authorizations?
- B2B (Business to Business)
- In person consumer signature (face to face)
- Over the phone
- Internet
Set up the your ACH account (right portion):
- Username – here you can create a new one just for ACH.com
- Cell Phone
Once all fields have been filled in the user will click the grey Next button in the upper right.
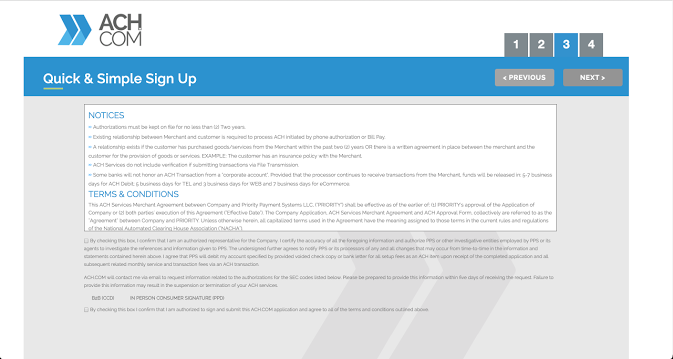
Step 3: Terms and Conditions
Just as you’ve done with other “Terms and Conditions” in the past, there are 2 small check boxes found at the bottom of the page.
Please note they are kind of hard to see, but need to be checked in order to going to the next page.
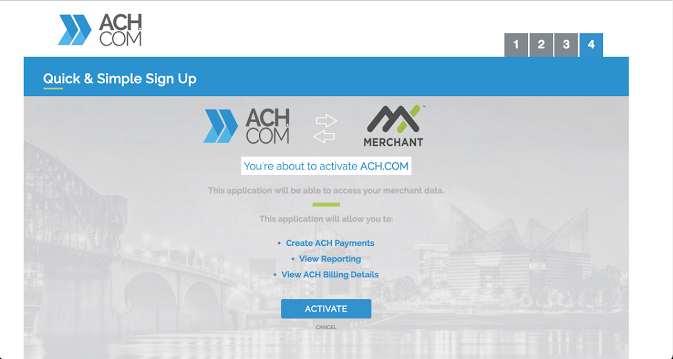
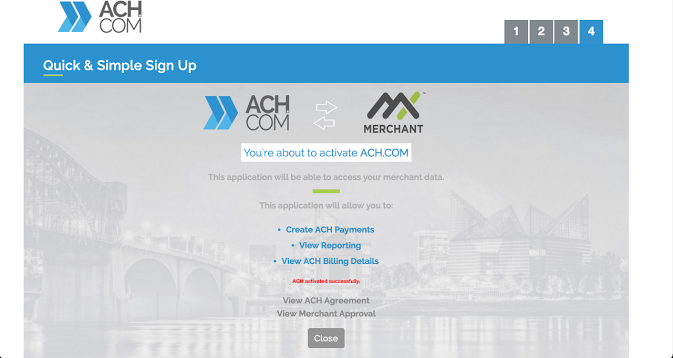
Step 4: Confirm and Activation
This page confirms you have completed the signup process.
Clicking the blue Activate button found toward the bottom of the screen will complete the ACH.com activation process.
Once the Activate button is clicked you will see red text appear at the bottom that says “Please wait”. When finished you will see “ACH activated successfully” in red. Here you can view/print/download the ACH Agreement and the Merchant Approval by clicking on the grey links.
Last step…
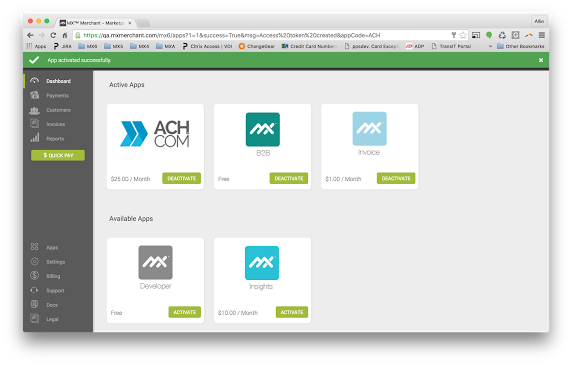
Clicking the grey Close button will refresh the screen and take you back to MX Merchant where the ACH.com app will show as Active and the ACH functionality will now be available.
