MX Merchant – Setting Notifications
With MX Merchant, you can get email/text notifications for PCI, chargebacks, statements and more
MX Merchant allows you to set different notifications for different account events. Never be surprised about your account! You can also set notifications to alert you when you receive a chargeback, get a large deposit, or when statements are available. Choose to receive each notification via email or text-message.
To set notifications, once you’ve logged in to MX Merchant, simply follow these steps:
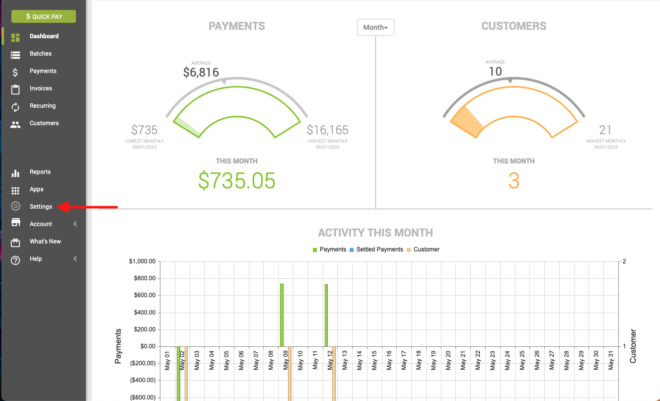
Select Settings
In the lower left-hand navigation of the MX Merchant dashboard, select the Settings option.
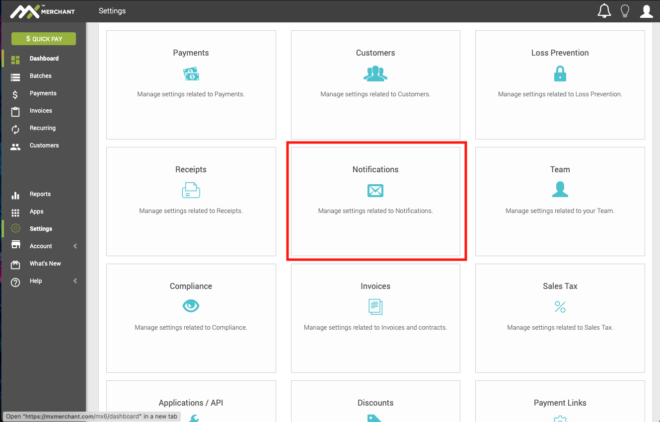
Select Notifications
Once you’ve selected Settings, you’ll see a new pane of options available to you. Select Notifications, which is typically the center of the screen.
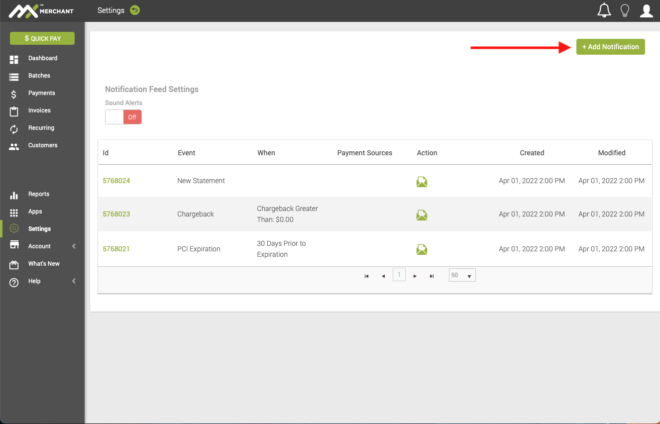
Select + Add Notification
In the resulting Notifications screen, you will see all your existing Notifications that have been previously set. To add a new one, select the + Add Notification button in the upper right hand corner.
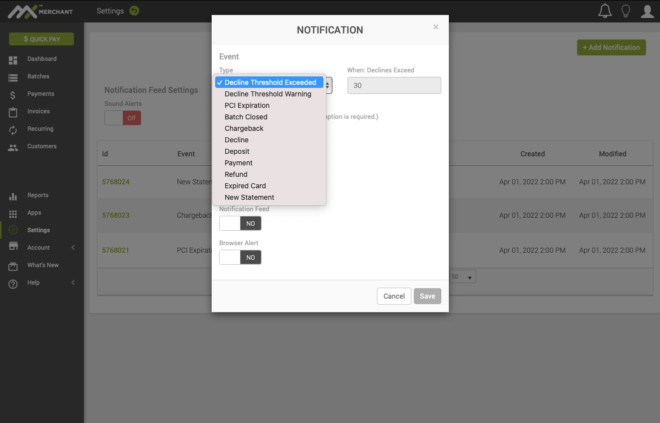
Select the type of notification you’d like to add
Once the Add Notification screen has opened, you can select from the various types of notifications for the one you are looking for.
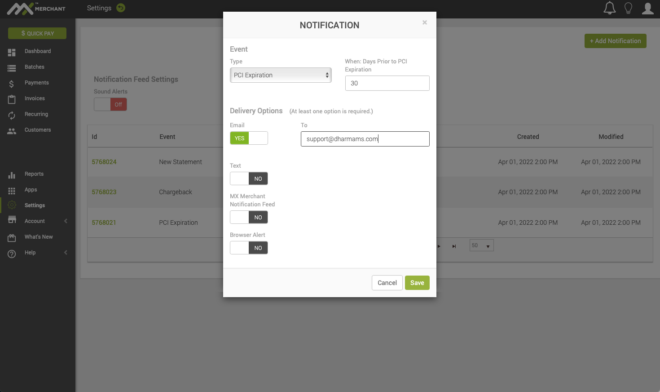
Basic Notification options
For most Notification types, the options are limited to how you would like to be notified – email, text, in your MX notification feed, or getting a browser alert when you next login to MX.
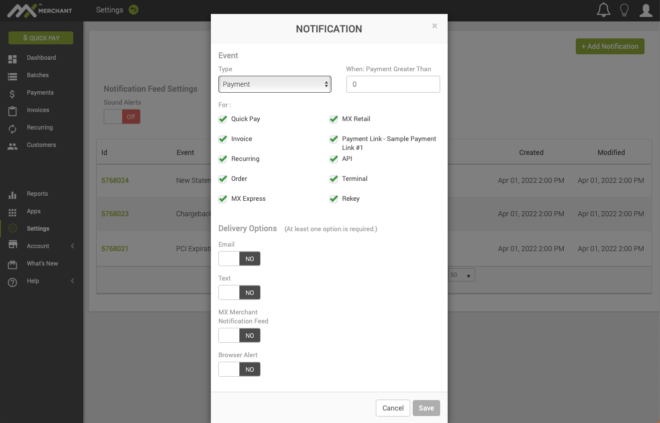
Advanced Notification Options
Some Notifications, like Payments, have more options about exactly what triggers the notification. In the example of Payments, you will see all the various ways that MX can take a payment, including QuickPay, an Invoice, a Recurring Billing, and even your custom Payment Links.
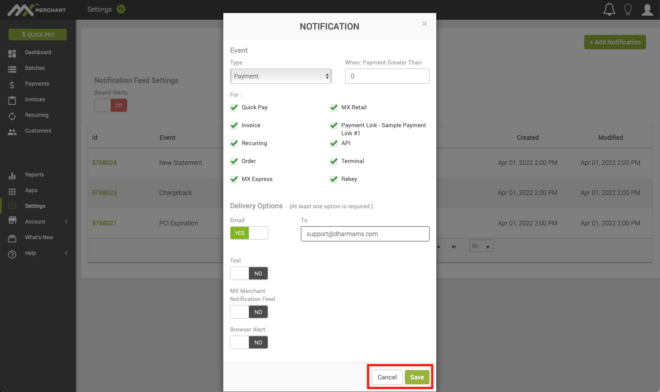
Select Save
Once you’ve configured the Notification the way you would like it, don’t forget the very important final step – select Save at the bottom of the screen. You can also Cancel if you change your mind.